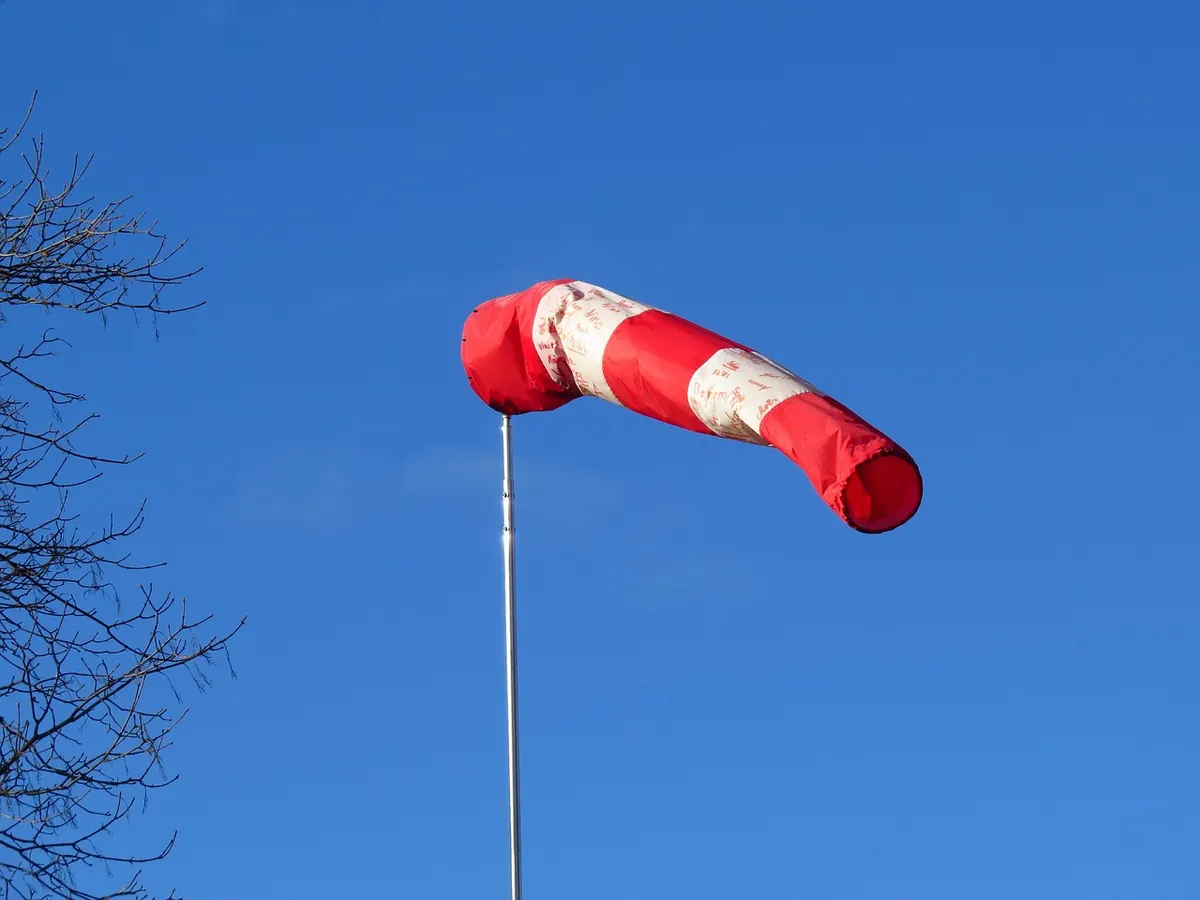
Most UK gardens are not sweeping acres of open field. You have a fence, a shed, a patio, and a lawn the size of a picnic blanket. That does not stop you collecting useful weather data, but it does mean choosing your compromises carefully. A station pressed against a south-facing wall will run hot. A rain gauge under a leylandii hedge will miss half the shower. The trick is to site each sensor for what it measures, shield it from the worst of the garden’s quirks, and check it against something you trust.
Decide what you actually want to measure
Many home weather stations bundle temperature, humidity, rainfall, wind and pressure into one package. That convenience can push you towards a single mounting point, which is rarely the best spot for every sensor. Before you drill any holes, decide which readings matter most. If you mainly want to know when your lawn is drying out, temperature, humidity and rainfall are your priorities. If you are curious about local gusts, wind becomes the difficult one.
- Temperature and humidity need shade, ventilation and a surface that represents your garden rather than your patio.
- Rainfall needs open sky and a level gauge, with no overhanging branches or eaves.
- Wind needs height and clear exposure, which is the hardest thing to achieve in a small plot.
- Pressure is usually measured indoors or inside the console; siting matters less, but you still need to set the altitude correctly.
If wind is your main interest, accept that you may need a roof or shed-mounted anemometer while the thermo-hygro sensor sits lower down. If rainfall matters most, a separate manual gauge in the open part of the lawn will often beat an all-in-one station tucked beside a wall.
Siting temperature and humidity sensors
Temperature and humidity sensors are fussy. Meteorological convention puts them about 1.25 to 2 metres above short grass, inside a louvred radiation shield. The shield allows air to move through while blocking direct sun and rain. In a small garden, aim for the middle of a lawn or a low planting bed, away from walls, fences, paving and dark surfaces that store heat.
A north-facing wall is often suggested, but it can still catch low sun and release stored warmth after sunset. Use it only if you have no better open, shaded spot. Keep the sensor away from boiler flues, extractor fans, bin stores, air-conditioning units, barbecues and downpipes. Even a warm car parked nearby can nudge a reading for an hour.
If your garden is tiny, a rigid post with a proper radiation shield is better than a wall bracket. A DIY shield made from stacked white plant saucers, spaced so air can flow between them, can work reasonably well. Fit the sensor in the middle, keep the cable entry pointing downwards, and check that the shield never fills with water.
Rain gauges in tight spaces
Rain gauges need open sky. A fence, hedge or building creates a rain shadow that can reduce catches for certain wind directions, and small gardens are full of such obstacles. Position the gauge away from walls and overhanging foliage, with the funnel level. A spirit level is not overkill. For a manual gauge, around 30 centimetres above ground is a common standard; for a tipping bucket, follow the maker’s instructions and then verify it against a manual gauge.
In a courtyard or narrow strip, perfect exposure may be impossible. In that case, treat your rainfall totals as indicative rather than absolute. Clear leaves, spiders and bird droppings regularly. Tipping buckets are especially prone to blockages and can under-read if the mechanism sticks. After a few rain events, compare your automatic total with a simple manual gauge nearby. If the automatic gauge consistently reads low or high, you can often adjust it or note the correction.
Wind sensors: the hardest compromise
Standard wind exposure is 10 metres above ground in open terrain. Very few UK gardens can offer that. Mount your anemometer as high as is safe and practical, ideally on a rigid pole above a roof ridge or on a sturdy shed, clear of walls and trees. Height matters less than avoiding turbulence. An anemometer just above a fence will swirl and gust, producing dramatic but misleading numbers.
Align the wind vane to true north, not magnetic north, and check the bearing with a compass. If your garden is surrounded by buildings, your wind direction will be channelled by the local layout. That is still useful information for your own patch, but do not compare it directly with a coastal or airfield station. Treat wind speed as relative: useful for spotting gusts, calm spells and changes in direction, not as an official measurement.
Shielding, mounting and keeping water out
British weather is hard on outdoor electronics. Use a rigid mounting pole that does not sway in gusts, and guy it if necessary. Route cables with drip loops so water cannot run into the sensor housing. UV-resistant cable and silicone sealant at entry points will save you grief later. Check battery compartments before autumn; damp and cold are a poor combination for cheap cells.
Keep the radiation shield clean and free of cobwebs. Ensure the rain gauge is not sitting in a puddle or blocked by fallen leaves. If you mount several sensors on one pole, put the temperature sensor below the wind sensor and make sure the anemometer’s shadow does not fall across the shield. A little planning at installation prevents months of odd readings.
Calibrating and verifying your readings
No affordable sensor is perfectly accurate, and a small garden adds its own biases. Calibration is mostly about checking that your readings are sensible and consistent. Work through these steps after the station has been running for a day or two:
- Compare your temperature sensor with a second thermometer placed in the same shield. If they differ by more than a small amount, check the shield and the sensor’s exposure.
- Check humidity against a known reference or a careful salt test. Humidity sensors drift over time, especially in damp conditions.
- Compare rainfall totals with a manual gauge over several weeks, not just one shower.
- Check wind direction with a compass, and confirm that the vane is aligned to true north.
- Set the pressure altitude or sea-level offset for your location, then compare with a nearby official station as a sanity check.
- Write down any correction you apply, so you can tell later whether the sensor has drifted.
A nearby official station may be miles away and in a completely different landscape. Use it to spot obvious errors, not as a target you must match. Your garden has its own microclimate, and that is the whole point of measuring it.
A small garden station that earns its keep
Set a simple maintenance rhythm. In spring, clean the shield and check the rain gauge. In summer, confirm that the temperature sensor is not catching reflected heat from paving. In autumn, clear leaves from the funnel and check mounting bolts. In winter, replace batteries before the cold snap and inspect cables for cracks.
Keep a notebook or a spreadsheet of daily readings. You will soon learn how your garden behaves: where frost lingers, which side dries first, how much rain actually reaches the lawn compared with the forecast. A well-sited, well-shielded station in a compact UK garden will never match a professional meteorological site, but it will tell you more about your own patch than any town-centre forecast. That is a worthwhile trade.
Photo: NoName_13 / Pixabay